
How to make a post?
In this article, you'll learn how to share a post with your team.
Note: Making Posts is done via the app, so you can access your photos and videos faster.
Create a new Post

Step 1: Open the Posts programIf the Post program is not visible in your toolbar, you do not have rights to create posts. Please contact your manager or Wizzflix Service Team.
Step 2: Press the Plus sign to start

Step 3: Select a category that matches the subject

In this article you can read how to create categories.
Create the content of the Post
Step 4: Write the title

Step 5: Add a photo, video or gif

Step 6: Write the text of your post

Step 7: Select another language and translate your post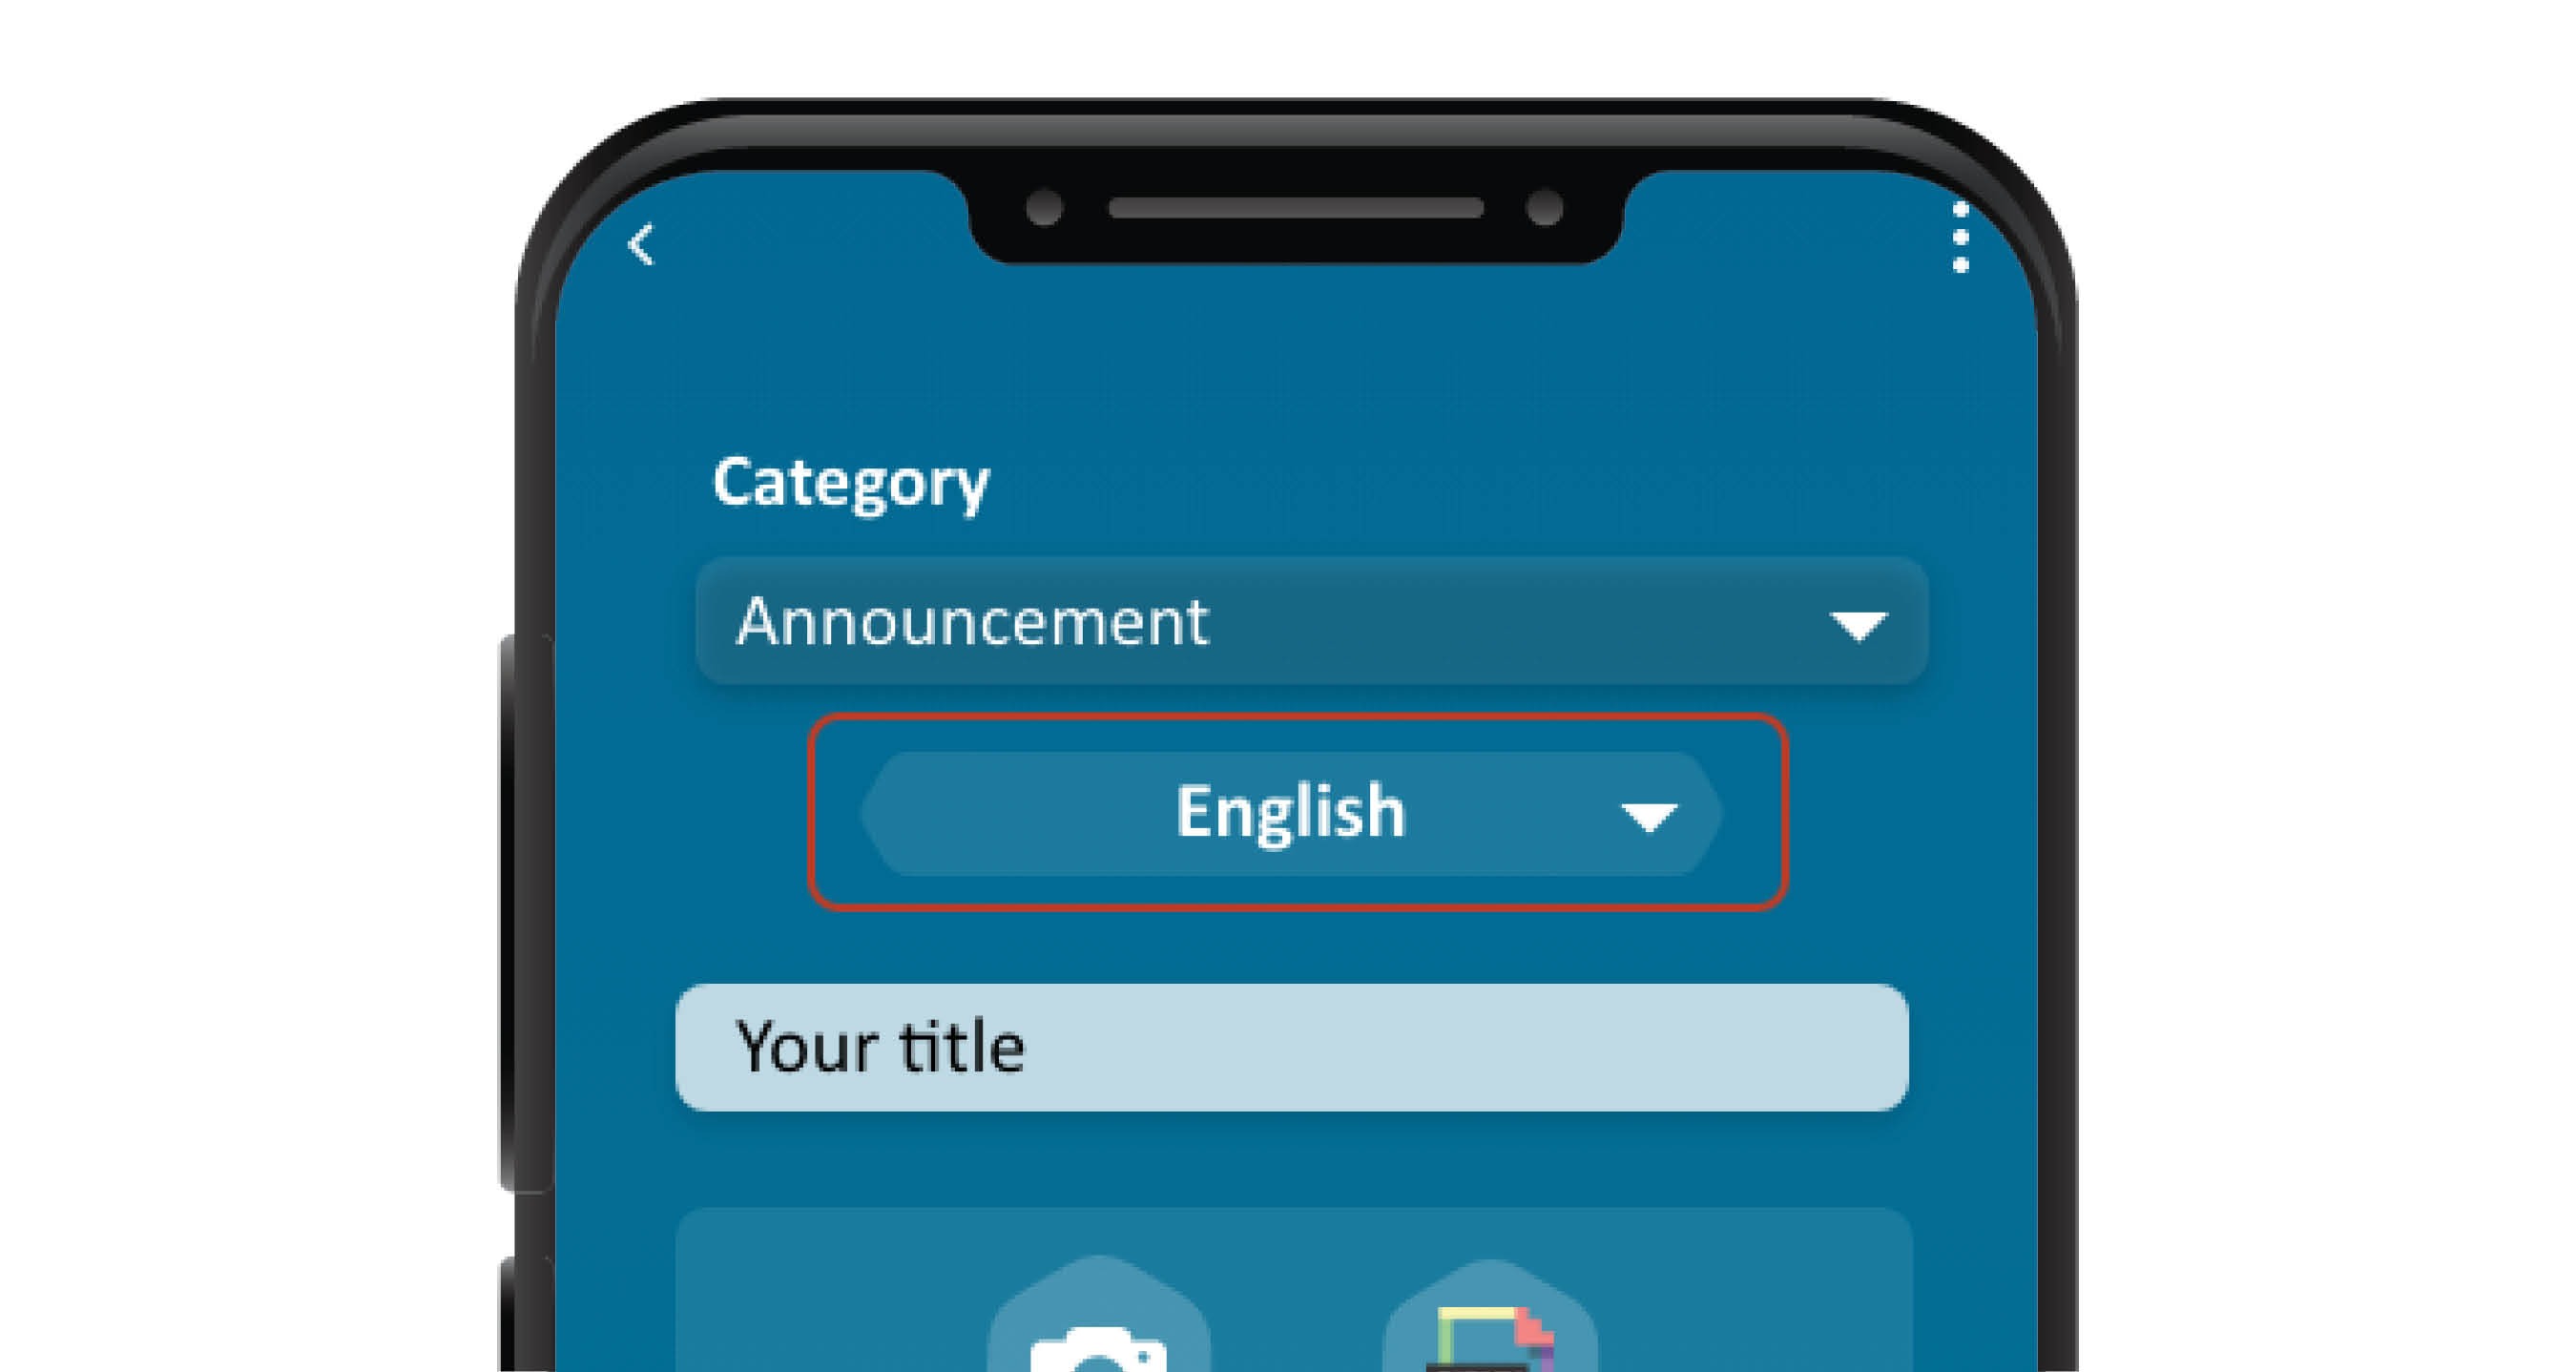
The post appears in the language that the employee has set in the app. If you have not created the post in the employee's preferred language, the post will still appear on the employee's timeline.
Step 8: Add a link button | Optional

- Copy/paste the url into the Call To Action button and give the button a name.

- Turn off embedded when you want employees to leave the app when they press the button. If you want the link to open within the app, turn on embedded.
- Depending on the category, you will see the option to add a button. You can add up to 3 buttons to your post. Read this article to know more about categories.
Step 9: Add an attachment | Optional

- Give your file a name.
- Upload your file. We currently support .docx, .xlsx and .pdf.
Target group and planning
Step 10: Schedule the Post

- If you want to send the Post immediately, turn on "Direct".

- If you want the Post to appear from a certain date, enter a date.

- For days you enter how long the Post is active. So if you want to send a message that is relevant for 5 days, enter 5 days. When an employee opens the app on day 6, the post will no longer be on the timeline.

Step 11: Enter a date for findability | Optional

If you want a Post to disappear from the Knowledge Base after a certain date, enter that date up to and including.
Step 12: Select the groups you want to send the Post to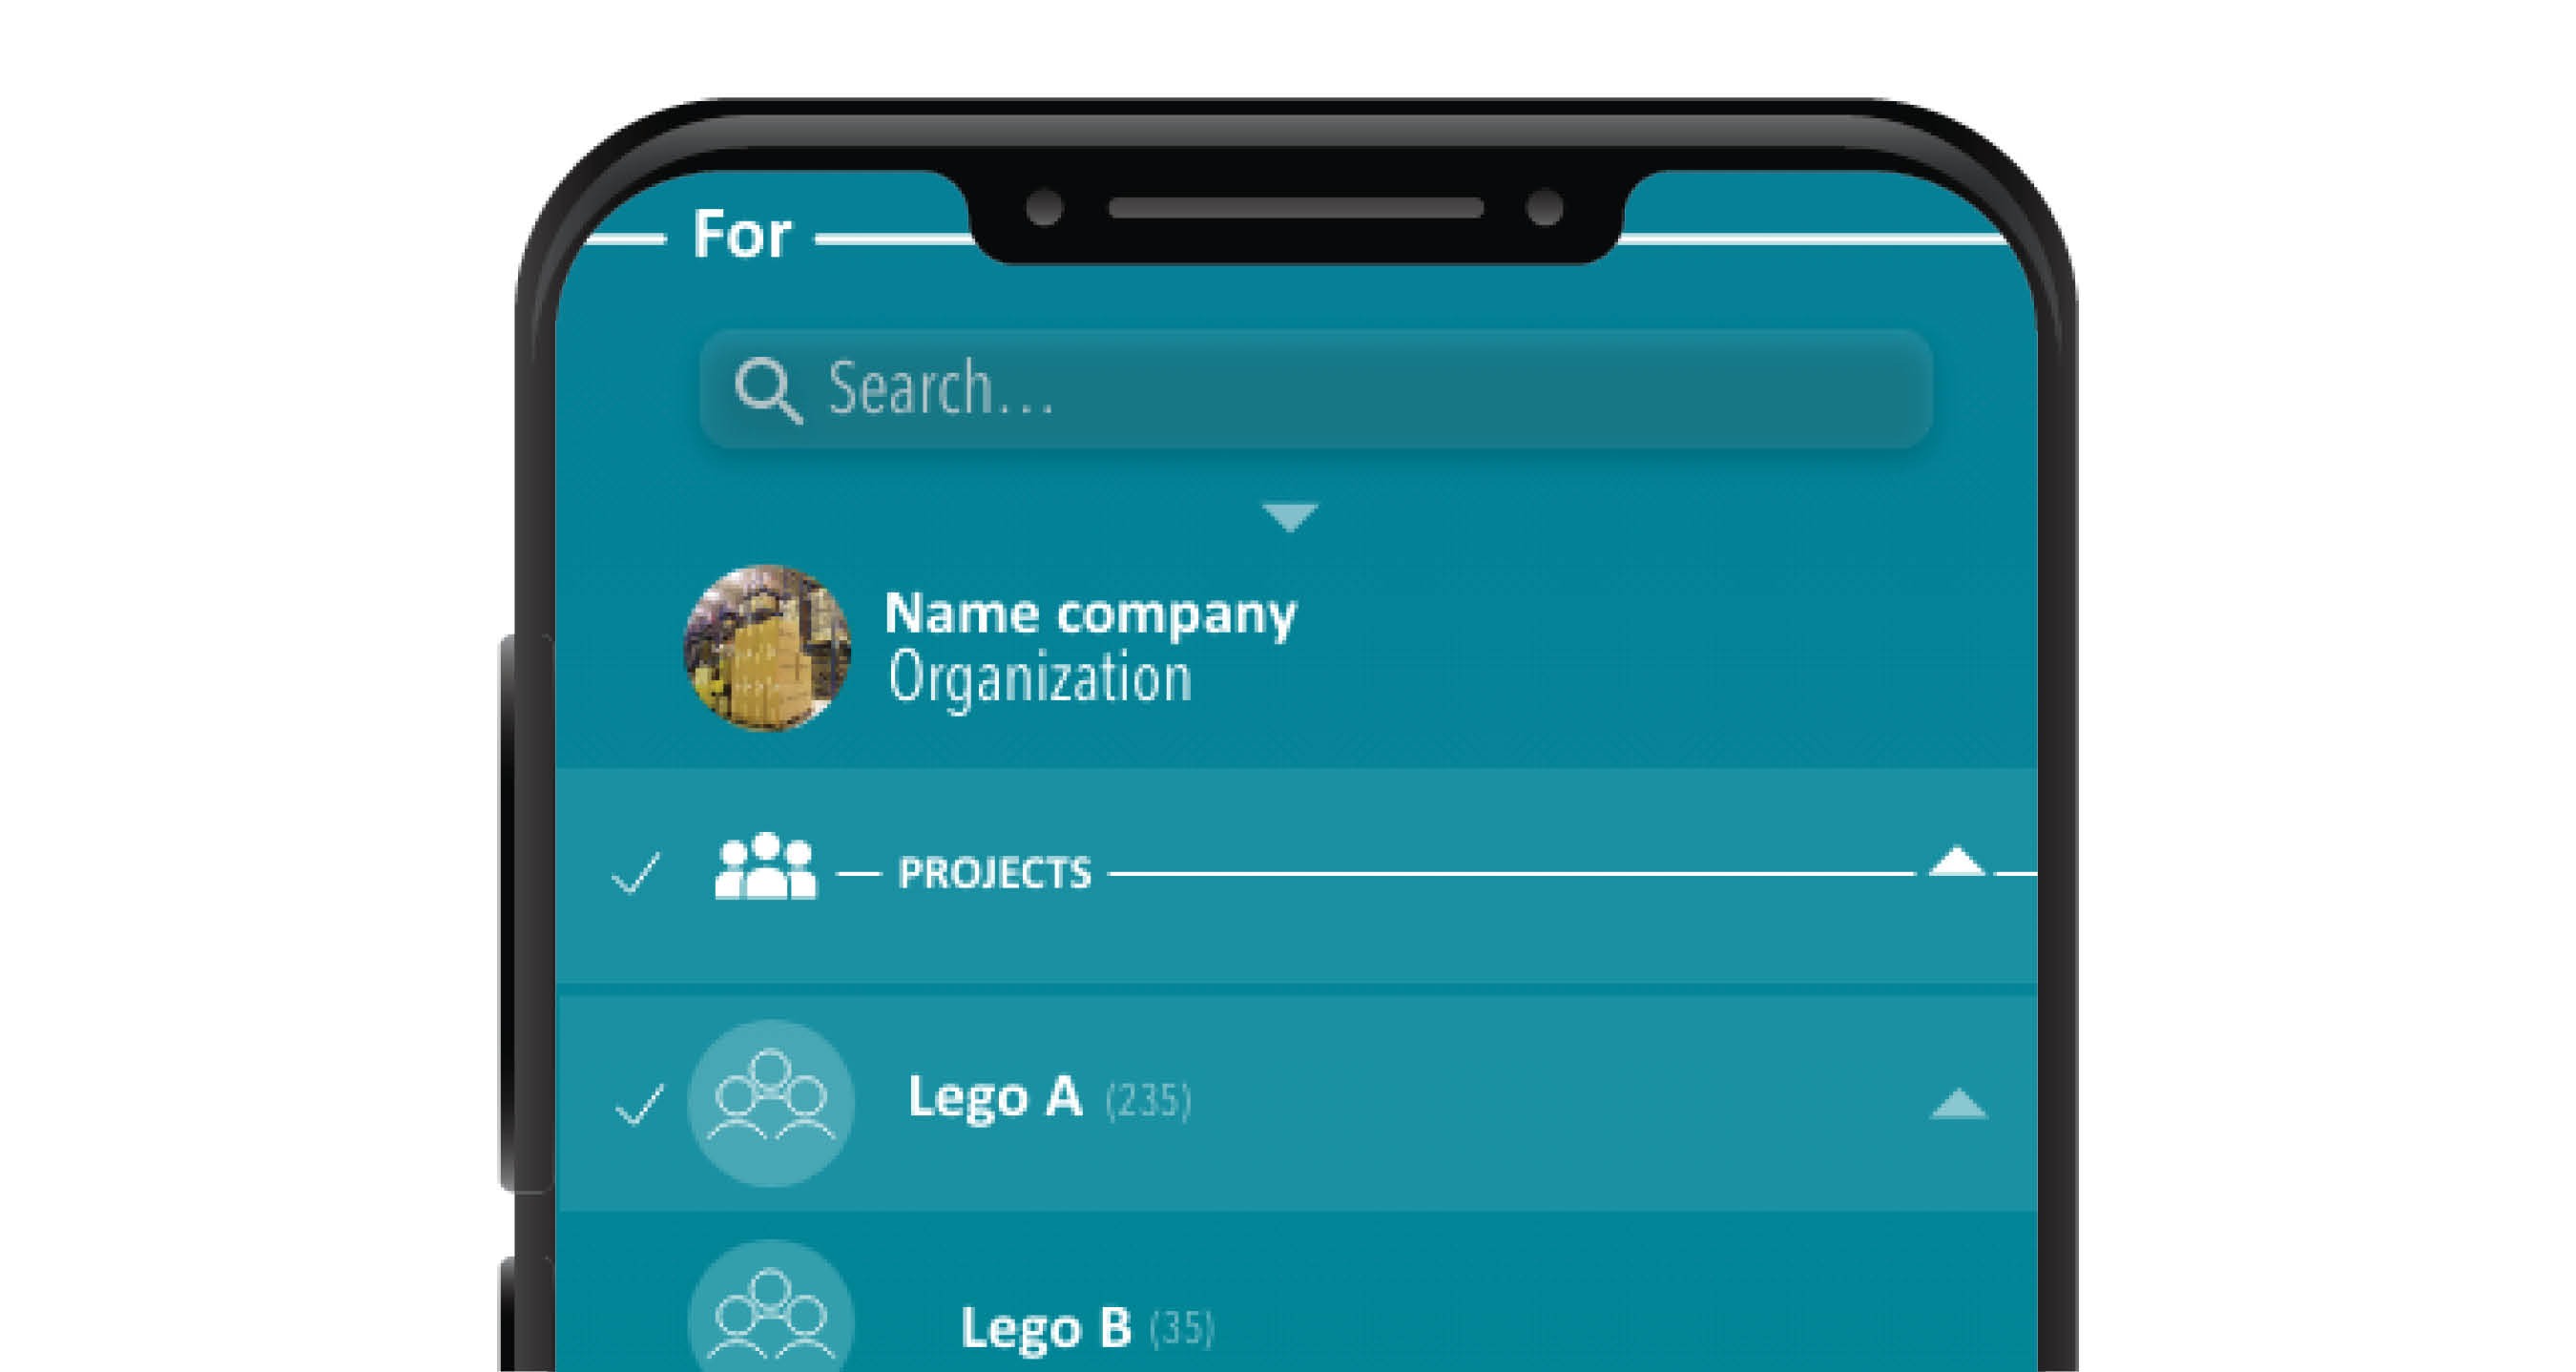
You can only send posts to the groups that you are a part of.
Step 13: Give someone else rights too | Optional

When you add someone to permissions, they can also send, edit and delete the Post.